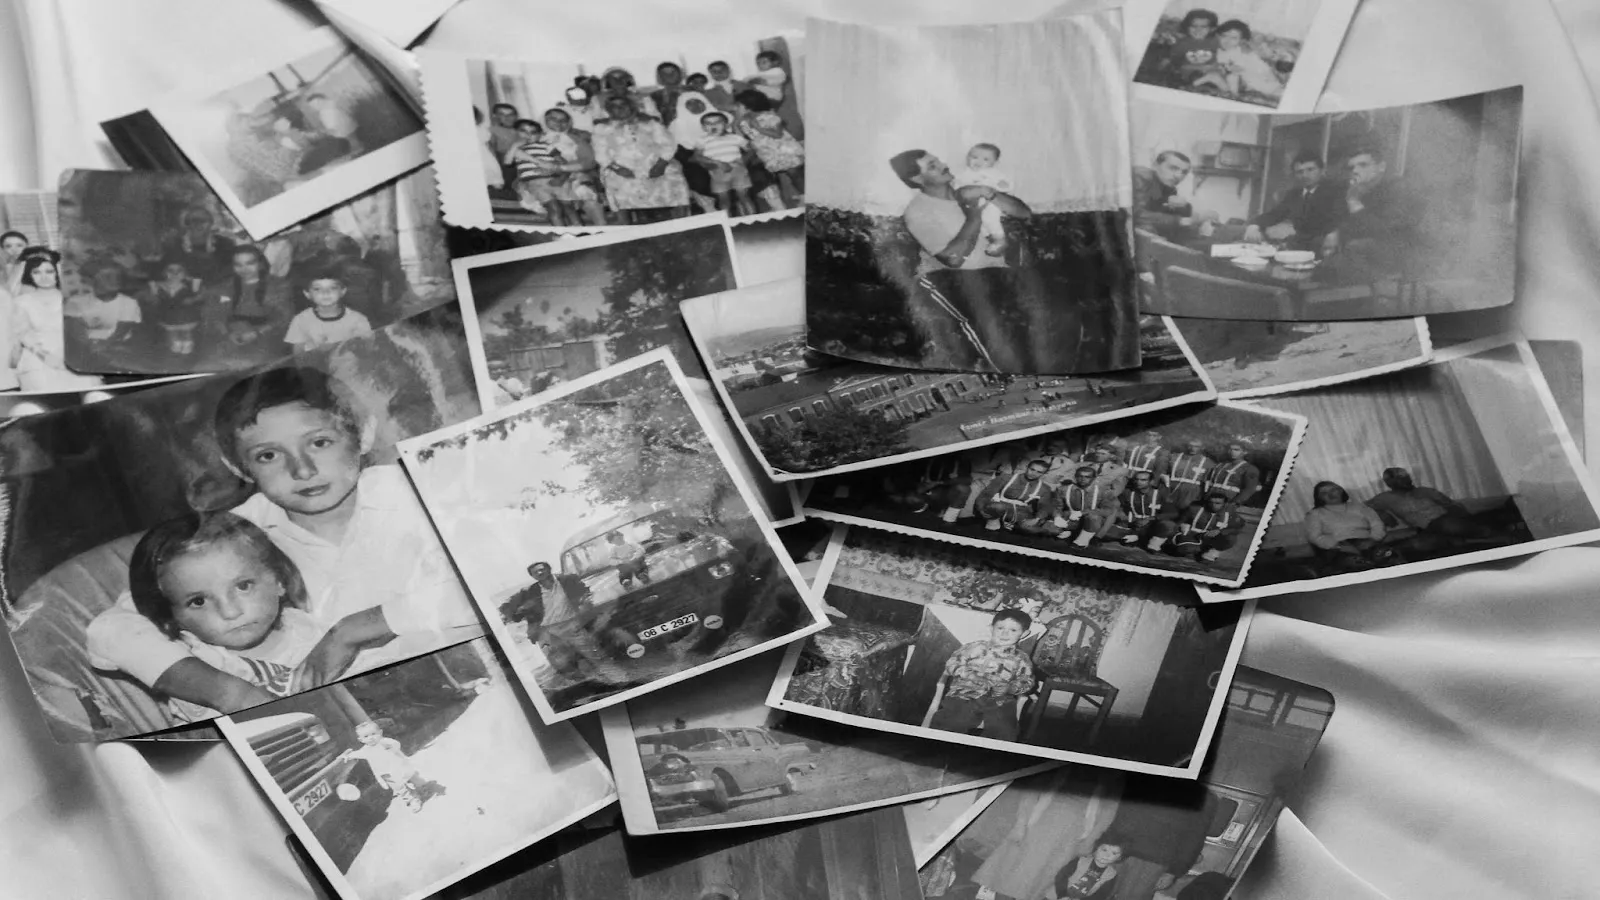
There’s something magical about old family photos, isn’t there? Seeing the faces of loved ones from decades ago, capturing moments in time we might otherwise forget. But if you’ve got an album full of photos that have seen better days, you may wish they looked a little fresher. Maybe there are scratches, stains, or the photos have faded over the years. Or perhaps you’re thinking about what those old black-and-white shots would look like in colour.
Good news! You can give your photos a fresh new look at home with PhotoGlory, a powerful yet easy-to-use photo restoration program. Follow the link below to learn more about the ways to give your old photos a new look with PhotoGlory.
Ready to dive in? Here are six ways to breathe new life into your precious family snapshots.
How to Make Your Old Photos Look New Using PhotoGlory
1. Crop Out Torn Corners
Old photos often have frayed edges or torn corners from years of handling. Using PhotoGlory, you can simply select the Crop tool and trim the edges until your image looks smooth and neat. To use the crop feature, drag the selection box over the area you want to keep. PhotoGlory even offers preset aspect ratios, so you can crop in standard sizes for easy framing later.
Not only does the cropping remove the damage, but it also helps focus on the main subject of the photo, whether it’s a grinning grandparent or a cherished childhood memory.
2. Remove Scratches and Stains
Scratches, dust spots, and stains are almost inevitable in old photos. Thankfully, PhotoGlory has a bunch of handy tools to erase these marks in seconds. First, try the automatic photo restoration tool powered by AI which instantly detects and repairs blemishes.
For stubborn marks, use the Healing Brush for small blemishes, the Clone Stamp for odd objects or the Patch Tool for major defects. This tool is ideal if you have photos with deep scratches or visible fingerprints that you’d like to remove.
3. Sharpen the Image
A common issue with older photos is that they can look a bit blurry or faded. The Sharpen tool in PhotoGlory can instantly bring out the details, making your image crisper and clearer. After sharpening, you might notice things you hadn’t before – a gleam in someone’s eye or intricate details on an outfit.
To sharpen a photo, choose the Sharpen tool, and adjust the settings until you get the clarity you want. Be careful not to overdo it, though, as too much sharpening can make the photo look unnatural.
4. Remove Grain
Graininess is often a problem in old photos, especially if they were taken in low light. To remove grain, go to the Noise Reduction option under the Tools tab and adjust the slider until the image appears cleaner. This tool works particularly well for photos with lots of dark areas, where grain tends to show up the most.
5. Colour Correct the Photo
Even if your old family photos were taken in colour, chances are they’ve faded over time. In PhotoGlory, you can try the Auto-Correction tool or adjust the colours and light manually by dragging brightness, contrast, saturation and other sliders to bring back vibrancy. You can also fix any unwanted colour casts – those odd green or blue hues that sometimes appear due to ageing or lighting issues – using the colour sliders, the Curves tool or 3D LUT profiles.
In just a few clicks, you can make the colours look more natural and true to life, ensuring the photo captures the moment just as it was.
6. Colourise Black-and-White Photos
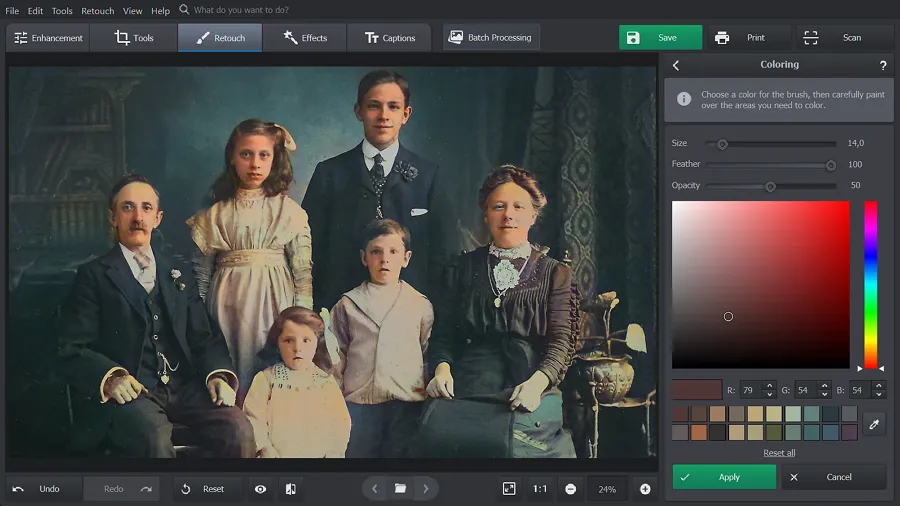
One of the most exciting features of PhotoGlory is its colourisation tool, which can add realistic colours to black-and-white photos. Imagine seeing your grandparents’ wedding photos in colour or discovering what your parents looked like as kids with full, vibrant tones.
PhotoGlory’s AI uses historical data to choose the right colours, so skin tones, clothes, and even background elements look authentic. You can also tweak the colours manually if you want more control. It’s a fantastic way to add a new dimension to your photos and make them feel more connected to today’s world.
Alternative Ways to Restore Photos
If you’re curious about other options, here are a couple of alternative photo restoration tools :
Nero AI Photo Restoration
Nero AI Photo Restoration uses artificial intelligence to automatically repair scratches, brighten colours, and enhance details. The interface is user-friendly, and it’s great for quick edits. Nero also has a specific colourisation feature for black-and-white photos, similar to PhotoGlory. For anyone who wants a fast, hands-off approach, Nero AI is a good option. However, if you’re aiming for more precise control over specific edits, like finely adjusting colours or selectively removing particular blemishes, it may fall short.
PhotoWorks
PhotoWorks is another excellent photo editor with a focus on retouching and enhancement. This software offers tools for cropping, sharpening, noise reduction, removing unwanted objects and colour correction, much like PhotoGlory. However, you won’t find automatic photo restoration nor photo colourisation tools in PhotoWorks. But it has special features for portrait retouching, which can help enhance faces in old photos. PhotoWorks is versatile and beginner-friendly, though it may require a bit more manual adjustment than PhotoGlory.
Final Thoughts
Giving your old family photos a new look doesn’t have to be complicated or time-consuming. With PhotoGlory, you’ve got all the tools you need to remove scratches, fix faded colours, and even bring black-and-white photos to life with a splash of colour. It’s easy to use, and you can get professional-looking results without having to spend a fortune on specialised services.
So, next time you’re flipping through that old album, remember—you’ve got the power to restore these precious memories. Give PhotoGlory a try, and see just how much life you can bring back to your family’s treasured moments.
Subscribe to get the latest posts sent to your email.
Clare
Hi, I'm Clare (Emmy's Mummy). A former Nanny and Mother of 2 - Emmy (born February 2010) and Harry (born October 2012). We are Essex based and share our adventures and misadventures of a busy crazy life.