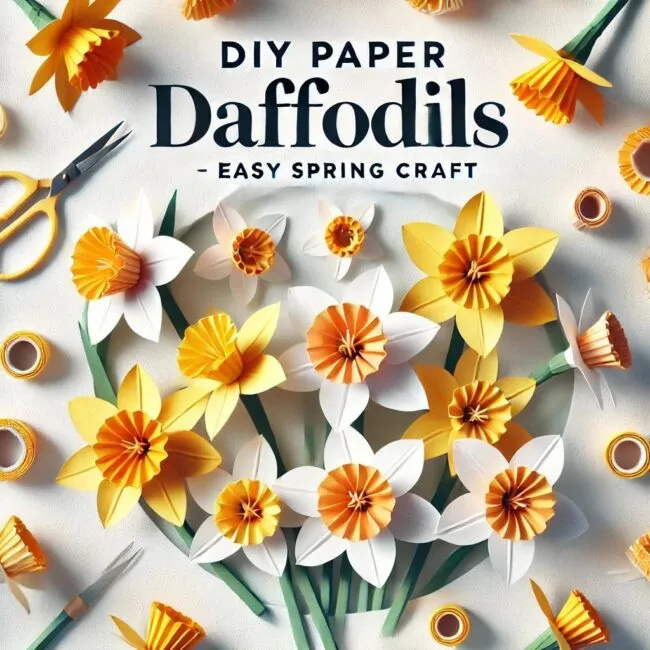
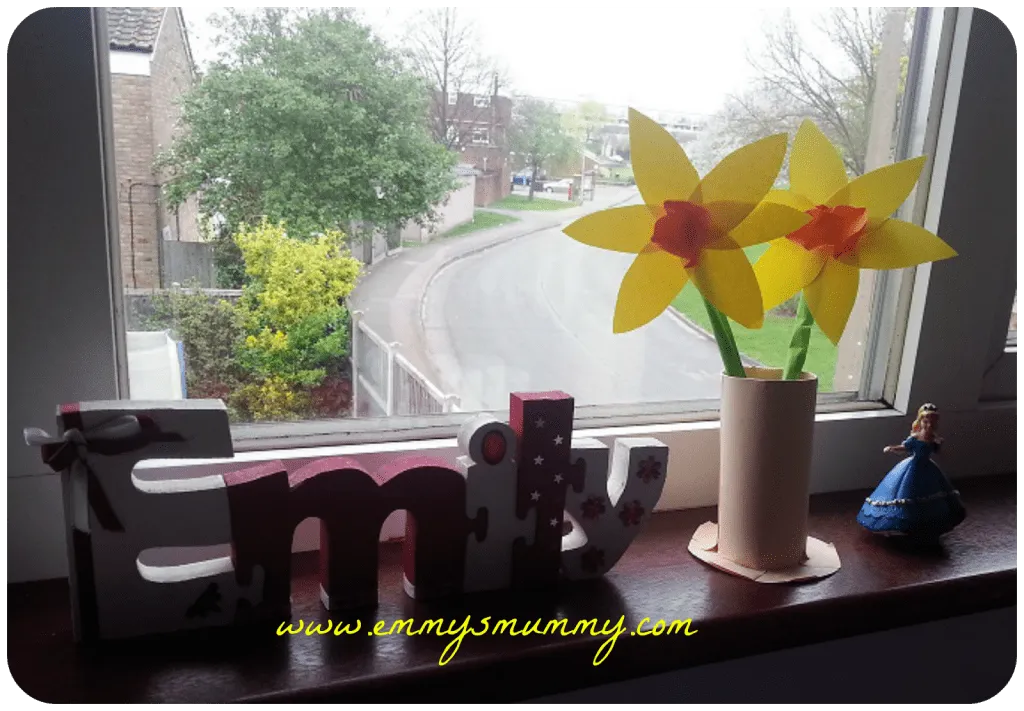
Spring is the perfect time to bring a burst of colour into your home, and what better way to do that than by crafting your own paper daffodils? By following this tutorial on how to make paper daffodils, you can craft these simple to make, cheerful flowers which can brighten up any space, making them an excellent project for kids and adults alike. Whether you’re decorating for Easter, making a handmade gift, or just looking for a fun rainy-day activity, this step-by-step tutorial will guide you through creating beautiful paper daffodils.
Pro tip: Once you’ve finished your paper daffodils, why not create a photo book or craft memory album to document your family’s creative moments? Tools like Mixbook make it easy and fun to preserve your DIY projects in a personalised way.
Yellow and orange construction paper or crepe paper
Green pipe cleaners or floral wire
Scissors
Glue stick or hot glue gun
Pencil
Ruler
Optional: Green floral tape
Step-by-Step Instructions
Step 1: Prepare the Petals
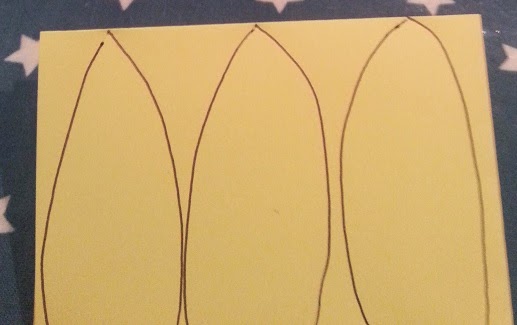
Start by drawing your daffodil petal shapes
Trace six petals onto yellow construction paper and cut them out carefully. If you’re crafting with children, pre-cutting the petals can make it easier for them to assemble the flowers.
Step 2: Make the Trumpet (Corona)
Cut out the trumpet shape from orange paper, a circle shape will do. Cut a small circle shape from the orange paper – I made rough circle shapes by cutting a square and rounding the edges.
Form a cone by slightly overlapping the edges and securing them with glue. This will create the signature shape of a daffodil’s centre.
To add more detail, lightly curl the top edges outward using a pencil or your fingers.
Step 3: Assemble the Flower
Arrange the six petals in a circular pattern, overlapping them slightly at the base.
Glue them together where they meet, ensuring they form a well-balanced shape.
Attach the orange trumpet to the centre of the petals, pressing it down firmly so it stays in place.
Step 4: Create the Stem
Take a green pipe cleaner or floral wire and attach it to the back of the flower using glue.
For a more polished look, wrap the stem with green floral tape or a strip of green paper.
Step 5: Add Final Touches
If you want your daffodil to look even more realistic, gently curl the edges of the petals outward.
Create a bouquet by making multiple flowers and arranging them in a vase.
Additional Crafting Tips and Ideas
Personalise Your Flowers: Use different shades of yellow and orange for variety, or experiment with patterned paper for a unique look.
Get Kids Involved: This craft is a great way to develop fine motor skills in children while also teaching them about the beauty of nature.
Turn It into a Gift: Attach a personalised note and give your handmade flowers as a thoughtful Mother’s Day or as a gift for their childminder, teacher or grandparents.
Create a Spring Wreath: Instead of making just a single flower, craft multiple daffodils and arrange them in a circular pattern to make a decorative wreath.
Try Other Paper Flowers: If you love making paper flowers, consider trying tulips, roses, or cherry blossoms for a full springtime bouquet.
Subscribe to get the latest posts sent to your email.
Clare
Hi, I'm Clare (Emmy's Mummy). A former Nanny and Mother of 2 - Emmy (born February 2010) and Harry (born October 2012). We are Essex based and share our adventures and misadventures of a busy crazy life.