**Disclaimer: We received this Paper FX Dream Weaver Machine in exchange for this post, as always, all thoughts and opinions are my own. Post contains affiliate links* – if purchased via this link I will receive a few pennies – not enough to book a holiday but maybe a chocolate bar – every little helps after all. See here for more details**
With far too much waste in all of our houses, this is a perfect way to reuse and recycle any paper items you may have, from newspapers, magazines, wrapping paper, birthday cards (if they aren’t too thick), junk mail (finally – something to do with it other than bin it straight away) and even artwork the kids bring home in bundles from school – now you can truly say, “No darling I have not thrown your drawing away”.
The Paper FX Dream Weaver Machine (aff link) is a way to recycle in your home while creating beautiful and useable items by weaving your old paper into new items.
You can use any paper you like – plain, coloured, used or new if you want but what a great way to help the environment and not throw your wrapping paper and magazines away. It is a way to ensure your paper weaving product stands out from the crowd and is as individual as you are!
Cellotape (not stated in the instructions but I found helpful)
Getting started
You will first need to start by reading the instruction booklet – don’t worry it is very easy to follow and only looks long as it comes with different language instructions on each page.
It is a step by step and once you’ve read the first initial pages you will only need to refer to the project instructions of the item you choose to create.
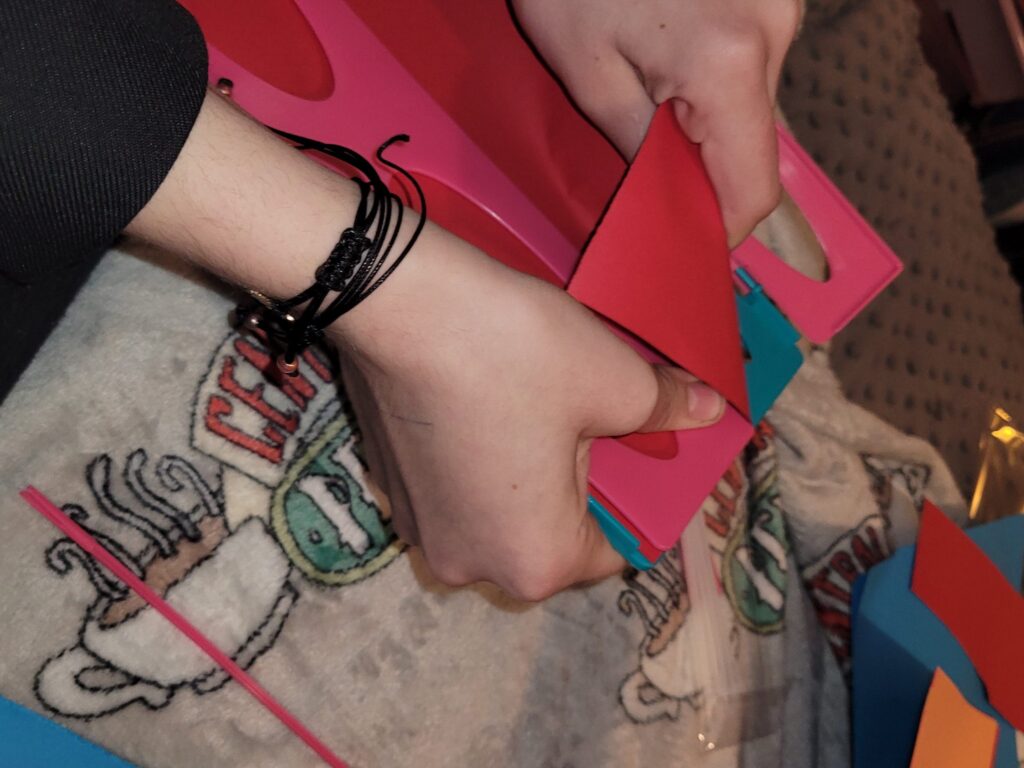
It shows you how to tear your paper into strips using the tearing machine, and how to fold it ready for weaving using the creasing machine.
The great news is that NO BATTERIES are needed – always a plus!
Tear It, Weave It, Make It!
There are a couple of folds you need to learn when creating the strips for your projects – an open folded strip that is unglued and a closed folded strip that is glued together and a tongue which is a thinner strip used for the ends of a project so you can glue the sides/edges together. Don’t worry, all is fully explained.
Making our first project
Emmy really enjoyed using this crafting kit, it was simple to follow the instructions and she had the freedom to create her own designs.
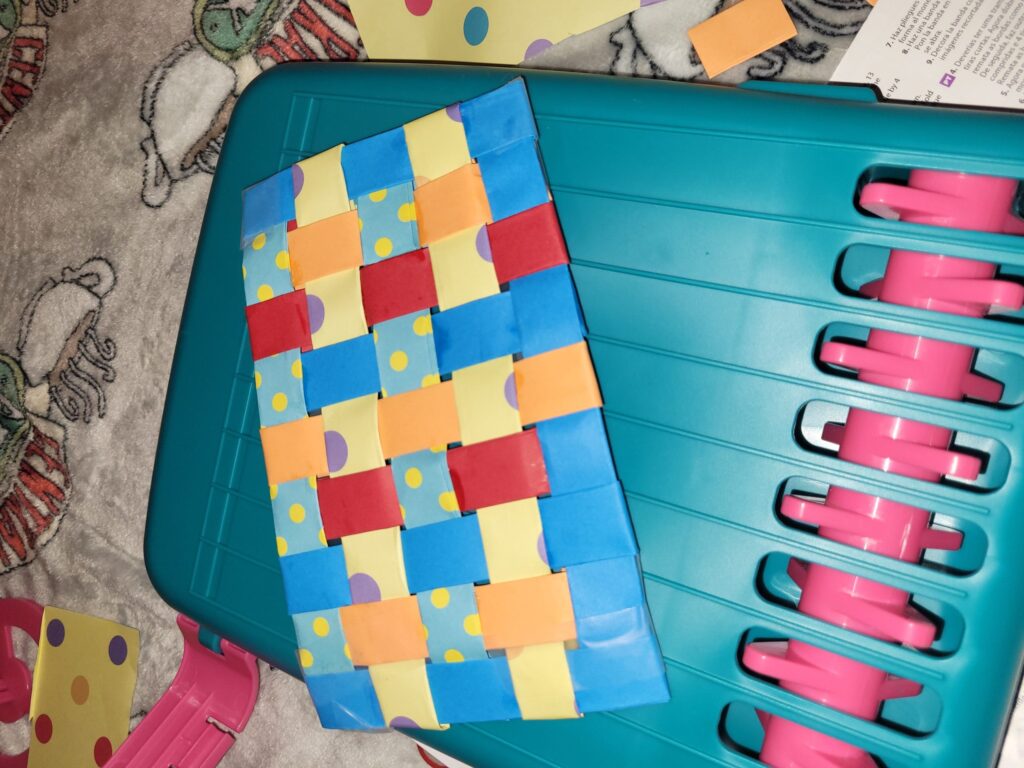
We started off practising basic weaving using random pieces of paper in no particular pattern formation just to get to grips with the machine.
You tear and fold your strips and load them into the weaver unit holding firmly in place with the back bar and then the middle bar. Then you turn the handle for the paddles which lifts up alternate paddles, push your strip under the paper which has been lifted, remove the middle bar and push up to the top of the machine – dot glue under the strip to hold in place.
Now replace the middle bar and turn the handle again to life the paddles – this will push down the paper you have just slotted your strip under and lift the opposite paddles. Repeat the above steps. Keep repeating until you have finished weaving all your strips.
You then need to trim the bottom of the paper, fold all the edges towards the back of your project and glue in place.
Making a pen holder/vase
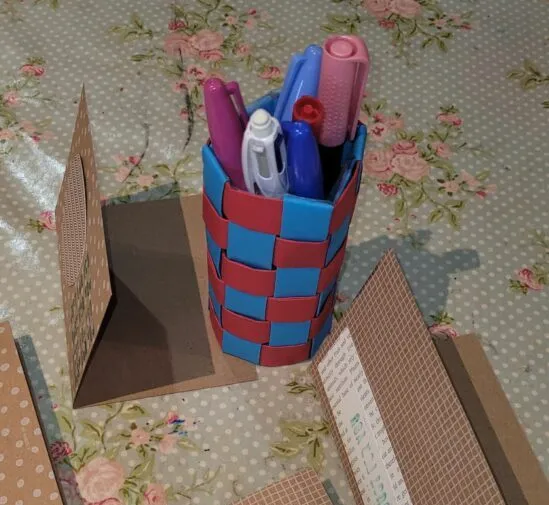
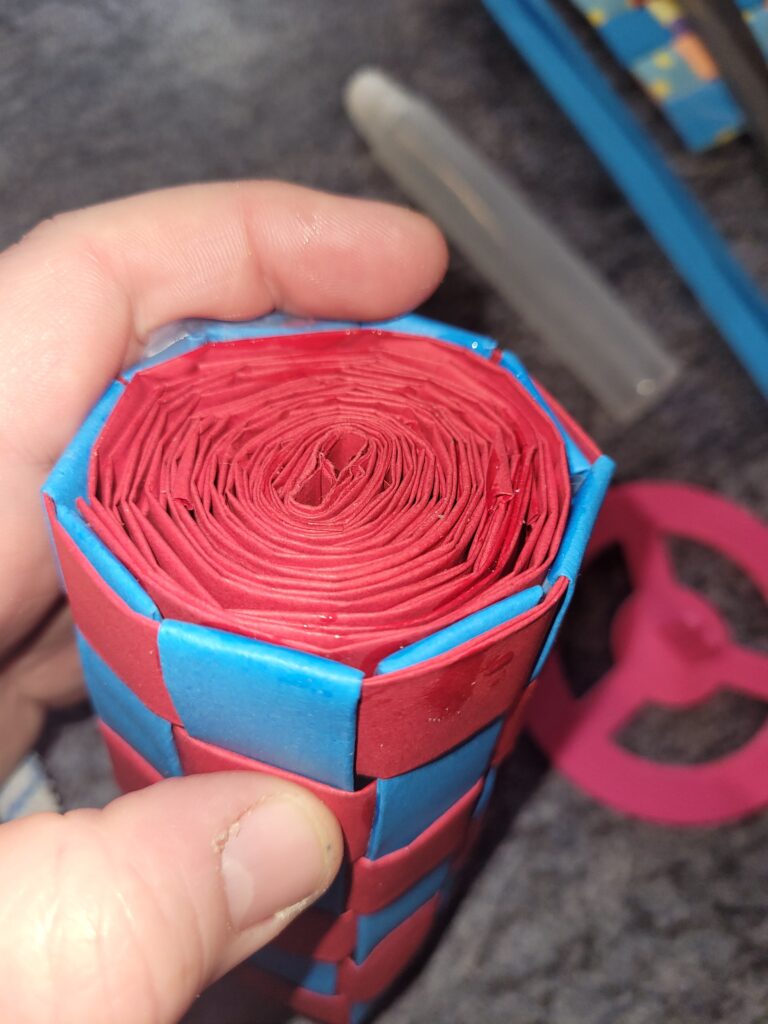
Once Emmy got to grips with a basic weave she chose to make a pen holder following the instructions. This time she chose to use 2 colours and make a proper pattern as the instructions showed.
Following the instructions was really easy and it shows you how many strips of each colour are needed – you need to make all the strips in advance and not as you go along.
Then it is a case of weaving your strips into a 9×6 structure and finishing off by glueing the edges together and adding a tongue to the bottom edge as this is what you will glue to the top edge.
To finish the project you have to make lots of closed strips and wind them around the base plate, glueing more strips together to make a long chain. For this I really do advise you to make a lot of strips before you start – we didn’t make enough so had to stop mid winding to make more, unfortunately, as she let go of the already wound strips to make more they started to unravel so the base wasn’t as tight as it should have been but it did still work.
Our thoughts
This really is a lovely little craft set for all ages and abilities. It is worth noting that the glue isn’t included and you HAVE to use this for all your projects really.
It is very easy to use and both Emmy and Harry have created some lovely designs with it.
If you are using heavier paper then you will need a stronger glue to hold the card/paper and we did find that especially for the pen holder glue just didn’t cut it once we formed the cylinder shape so we used some cellotape just to keep it all in place.
Also, if gifting this as a present I would collect up some paper or add some so you are able to open it straight away and start creating – I do understand why the paper isn’t included as we all have some laying around but that isn’t very clear on the box (it does say that glue isn’t included).
Priced at £19.99 this will remove technology from your children’s hands for a little while and they can create some lovely projects to keep and to gift to friends and family. You can of course create anything you like with this kit – the projects in the booklet are just a starting guide. Make anything from handbags to purses, wallets to belts, as well as mats, coasters and more, children can let their imaginations run wild with this crafty kit!
Subscribe to get the latest posts sent to your email.
Clare
Hi, I'm Clare (Emmy's Mummy). A former Nanny and Mother of 2 - Emmy (born February 2010) and Harry (born October 2012). We are Essex based and share our adventures and misadventures of a busy crazy life.